Step 1: Project Launch
When starting a project it is important to gather the stakeholders and ask the big overarching questions of the project.
- What are we trying to accomplish?
- Why are we trying to accomplish it?
- What are the constraints (technical, timeline, business goals, etc)?
- What can go wrong?
Step 2: Research
Research is the only way to get started doing the actual work on a project.
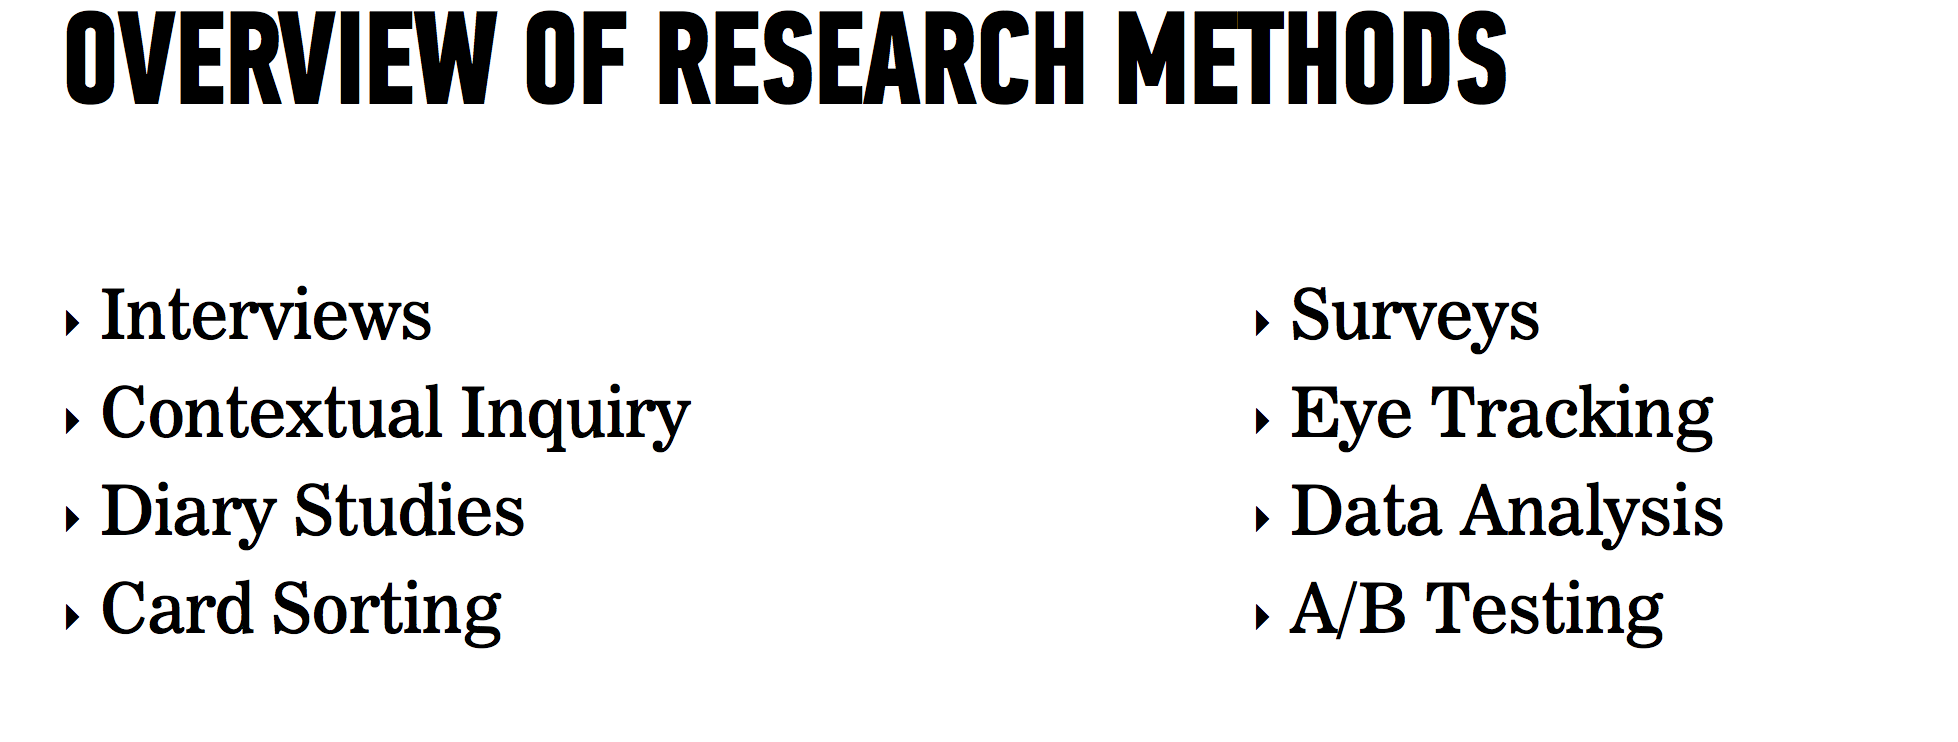
There are so many ways to research. Contextual inquiry allows you to see how people actually use the product. Competitive analysis allows you to learn from your competition. Not to mention all the analytics you can gain from the product if it's already up and running. And who doesn't love a little A/B testing?
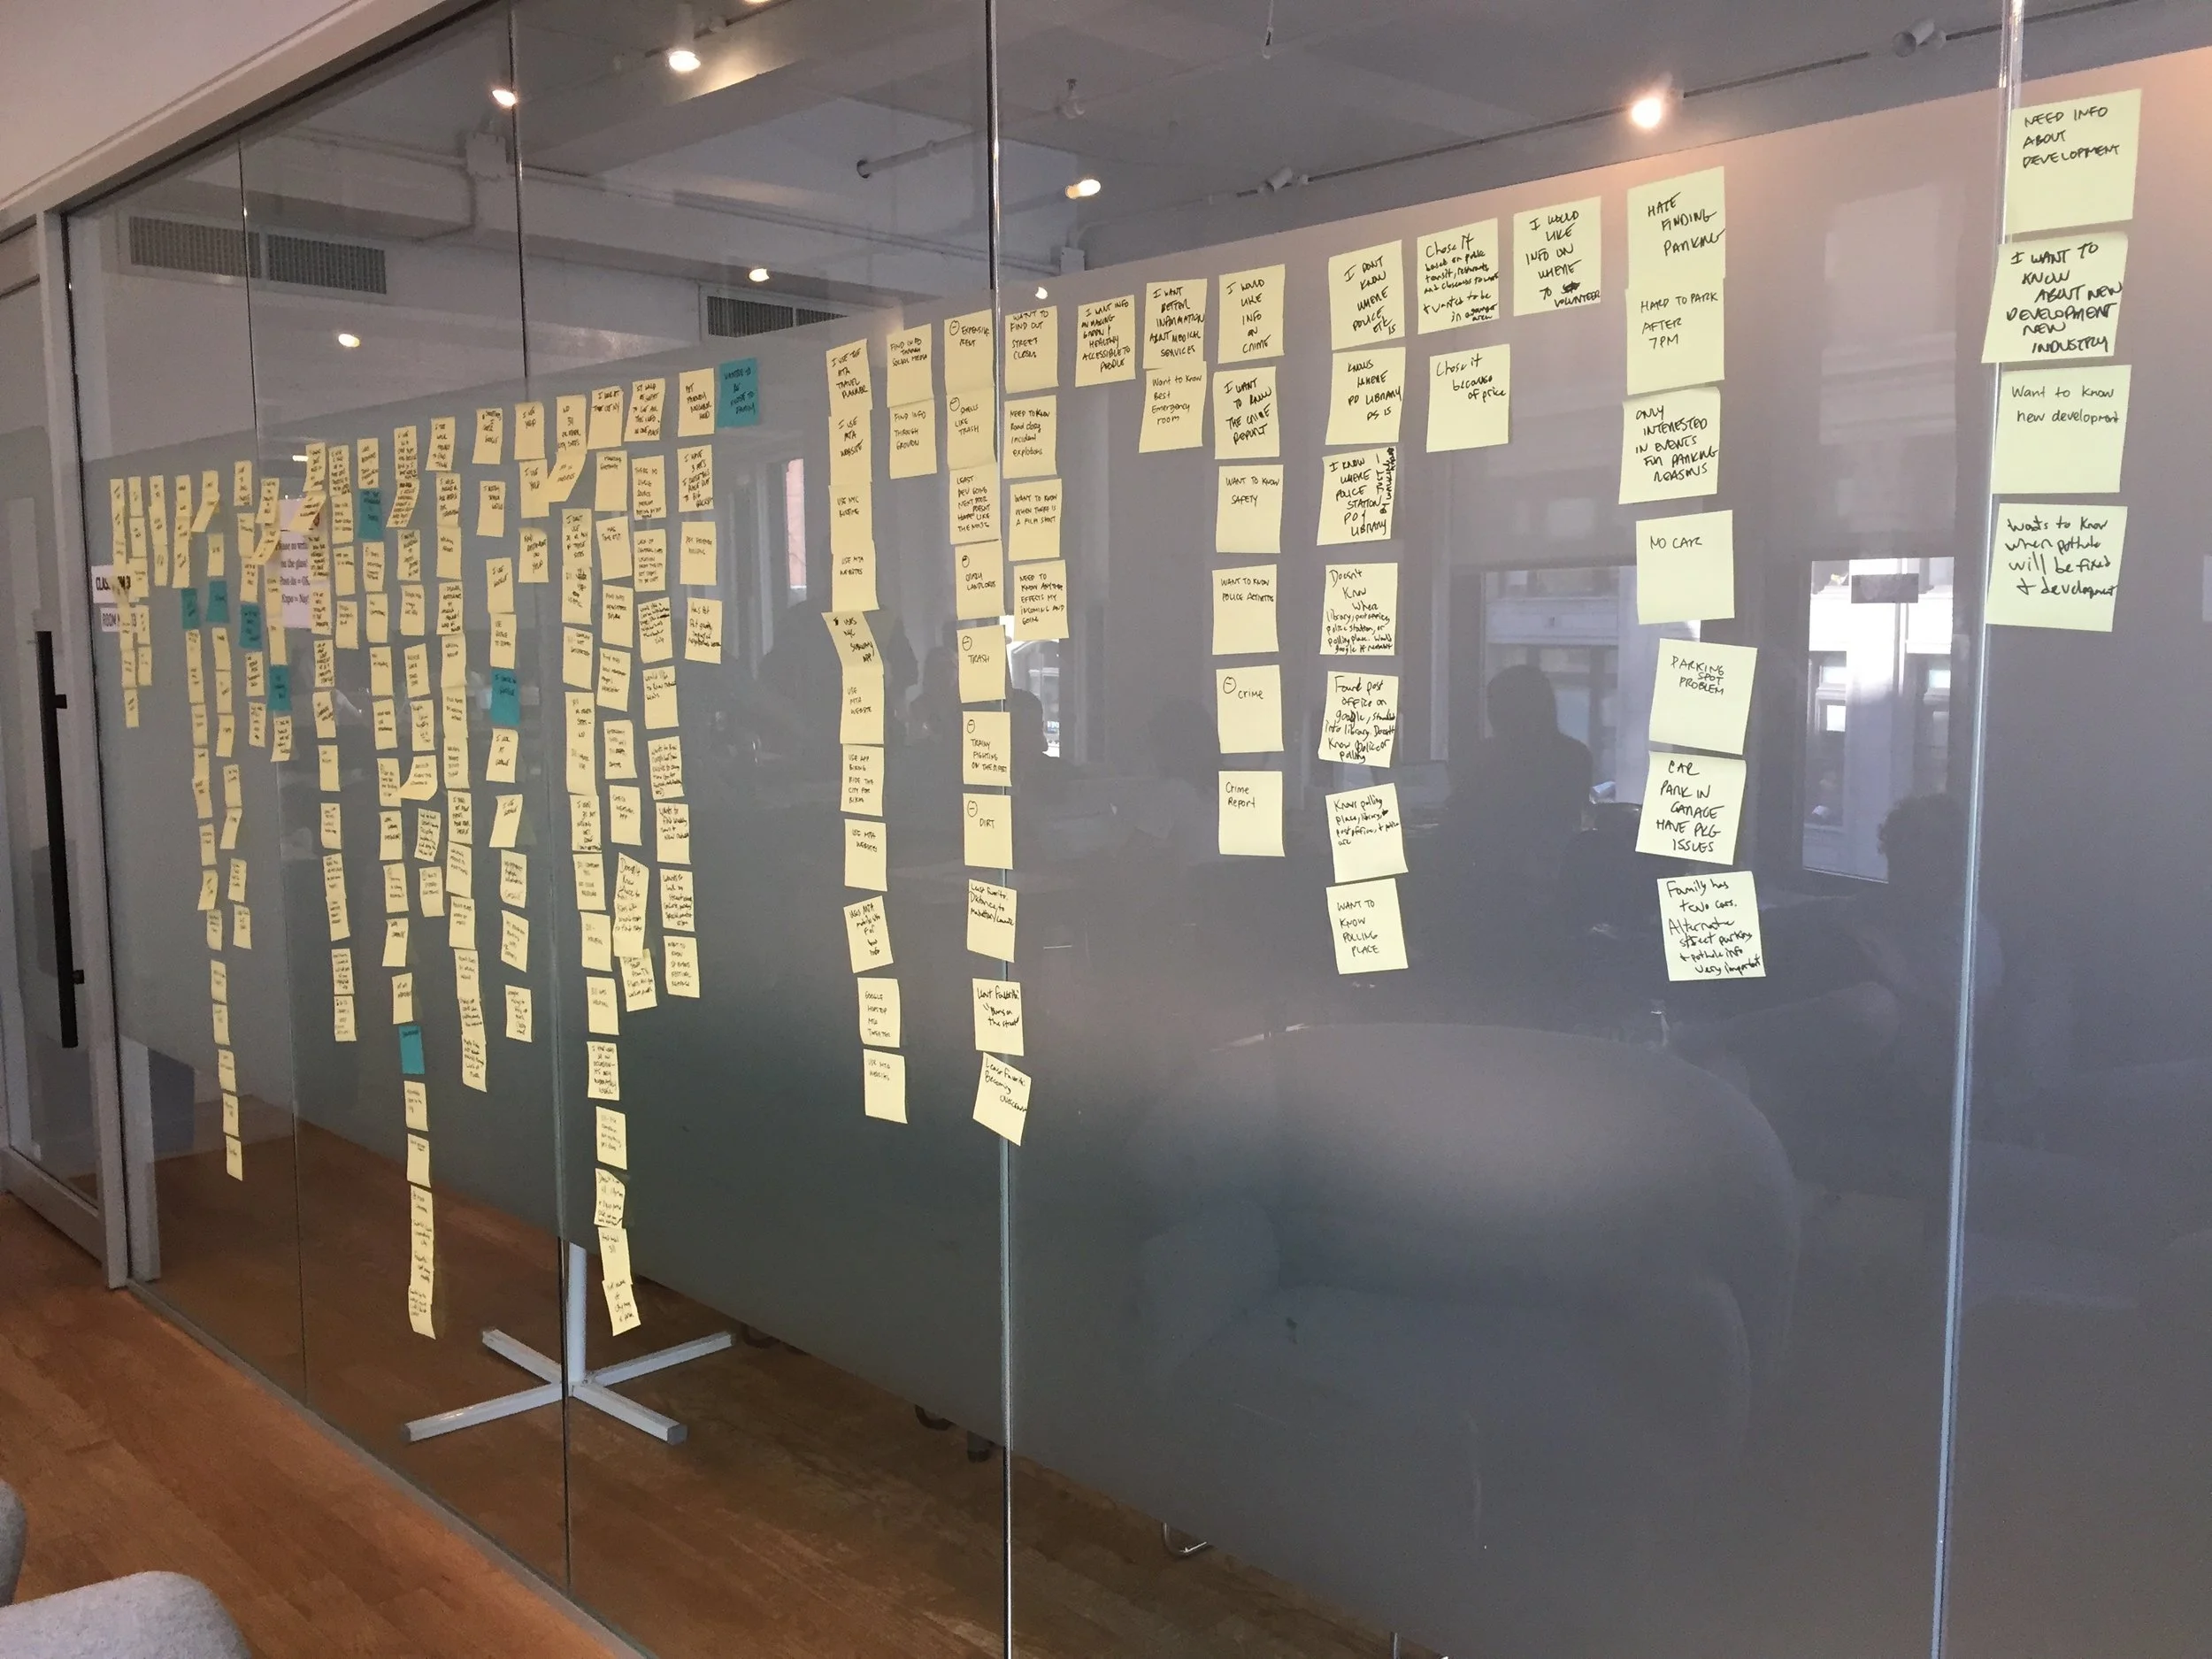
But for me, my favorite research is the user interview. It allows you to really dig down deep into people's habits, lifestyle, and motivations. It also allows you to really open up the project to wherever the users take you. Interviews are the land of opportunity and comes back with the most in depth and human qualitative data.
Step 3: Ideation and Personas
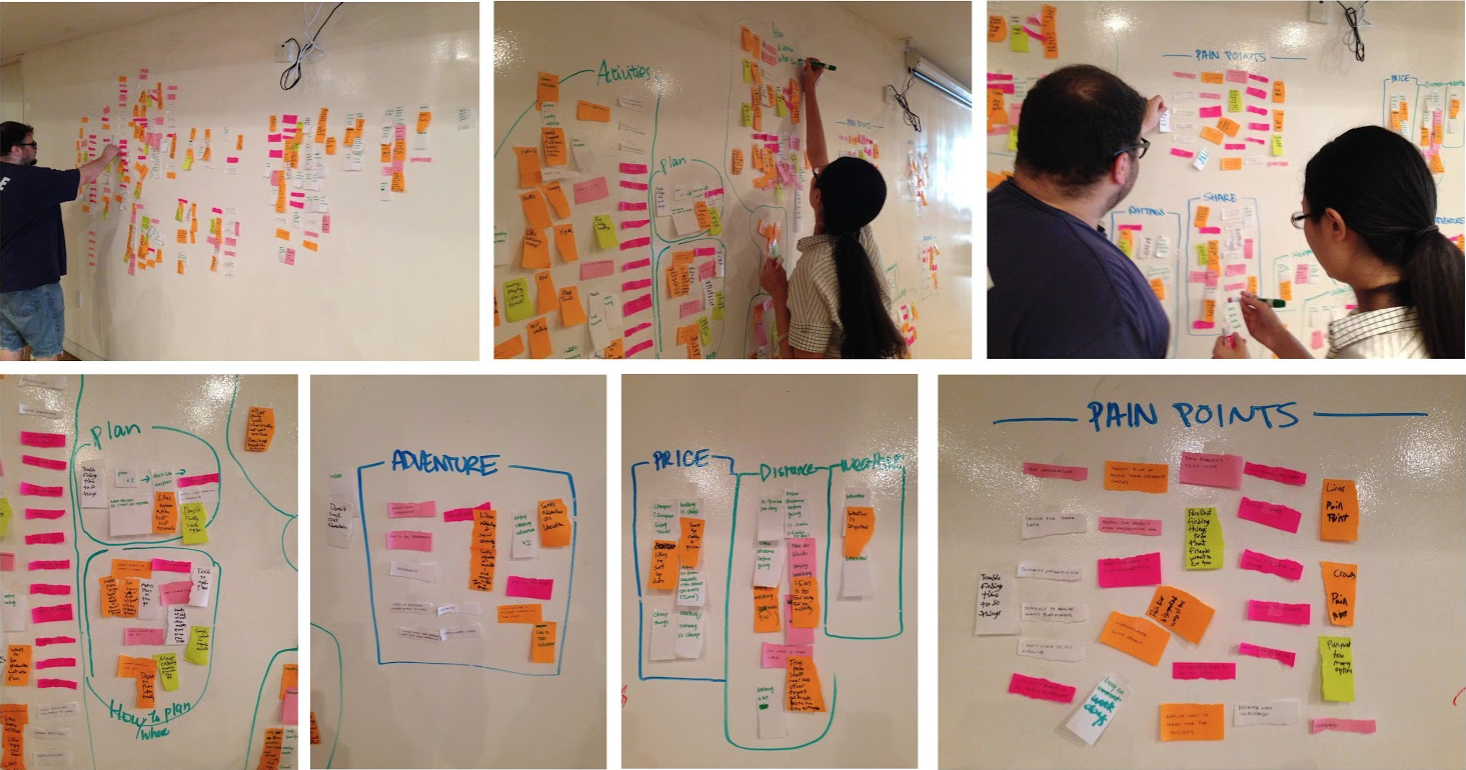
Once you have your data points from your research, it's time to figure out exactly what you've got. You can see me breaking down user interviews into data points and grouping them, so we get to start to see an outline of what we need to do. Suddenly we have user goals, pain points, and behaviors.
And from there you can create personas which help you keep in mind exactly who you're designing for. Below is a persona I helped construct for the mayor's office.
Step 4: Map The Flow
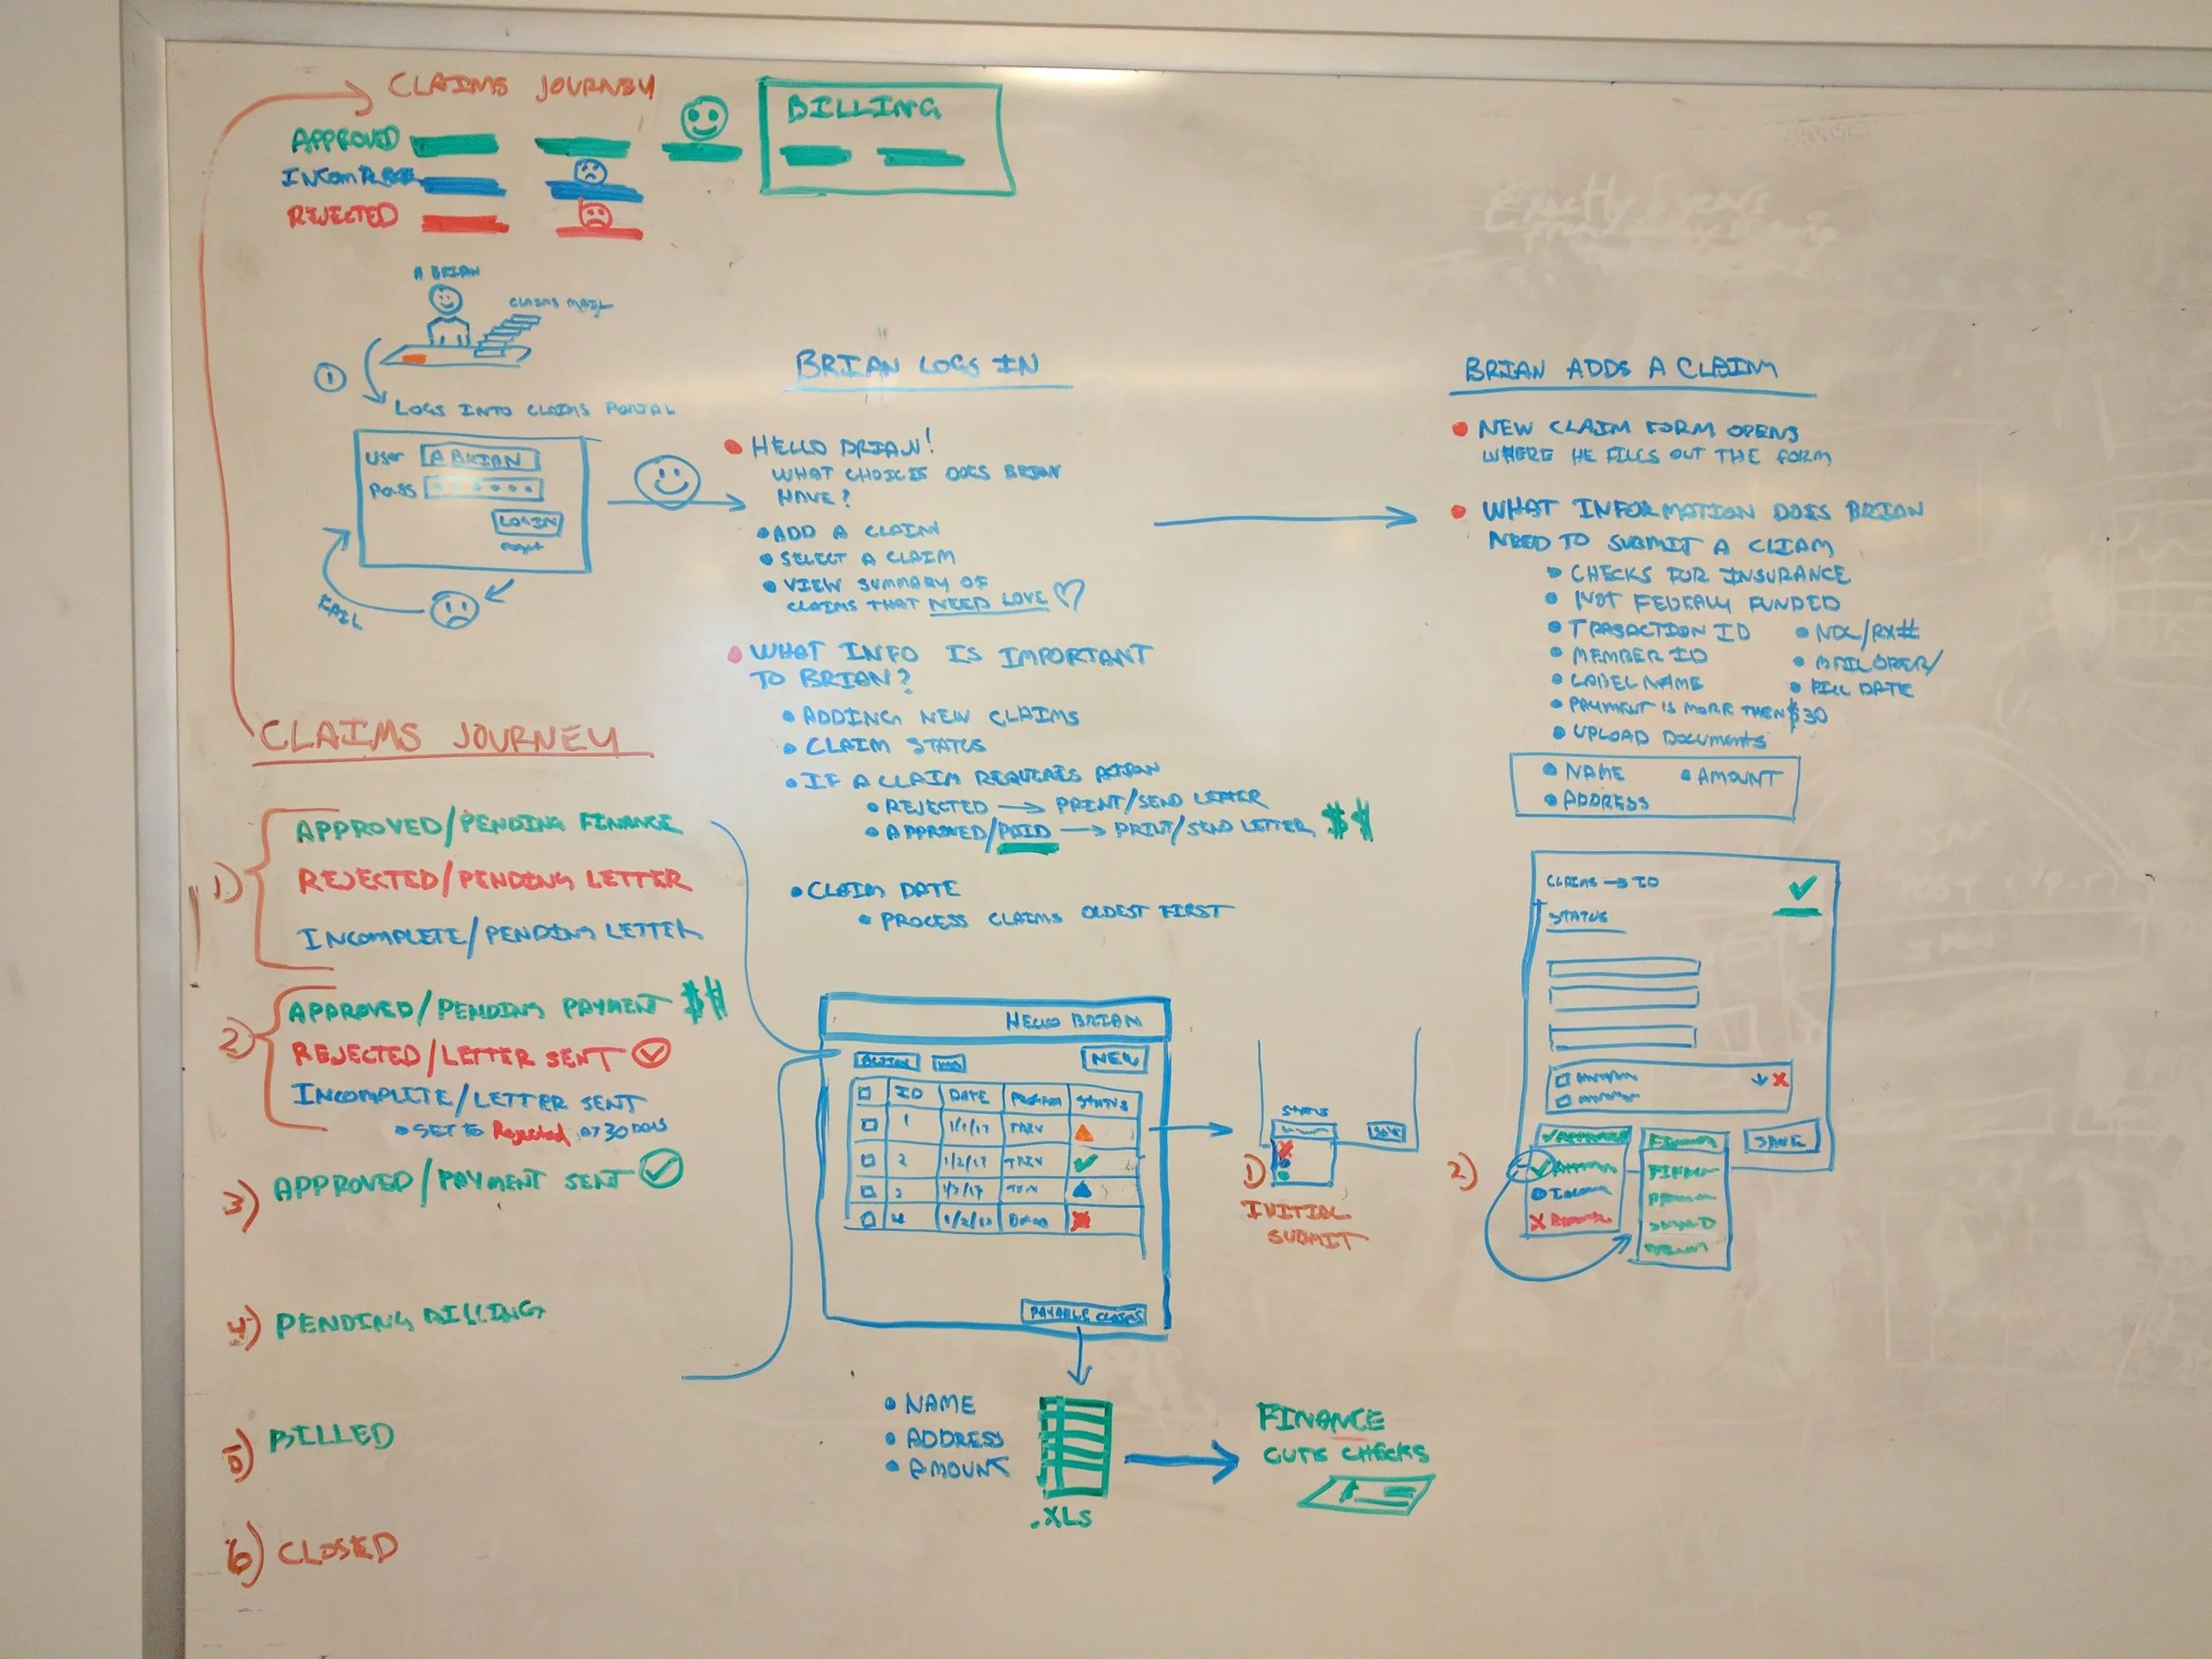
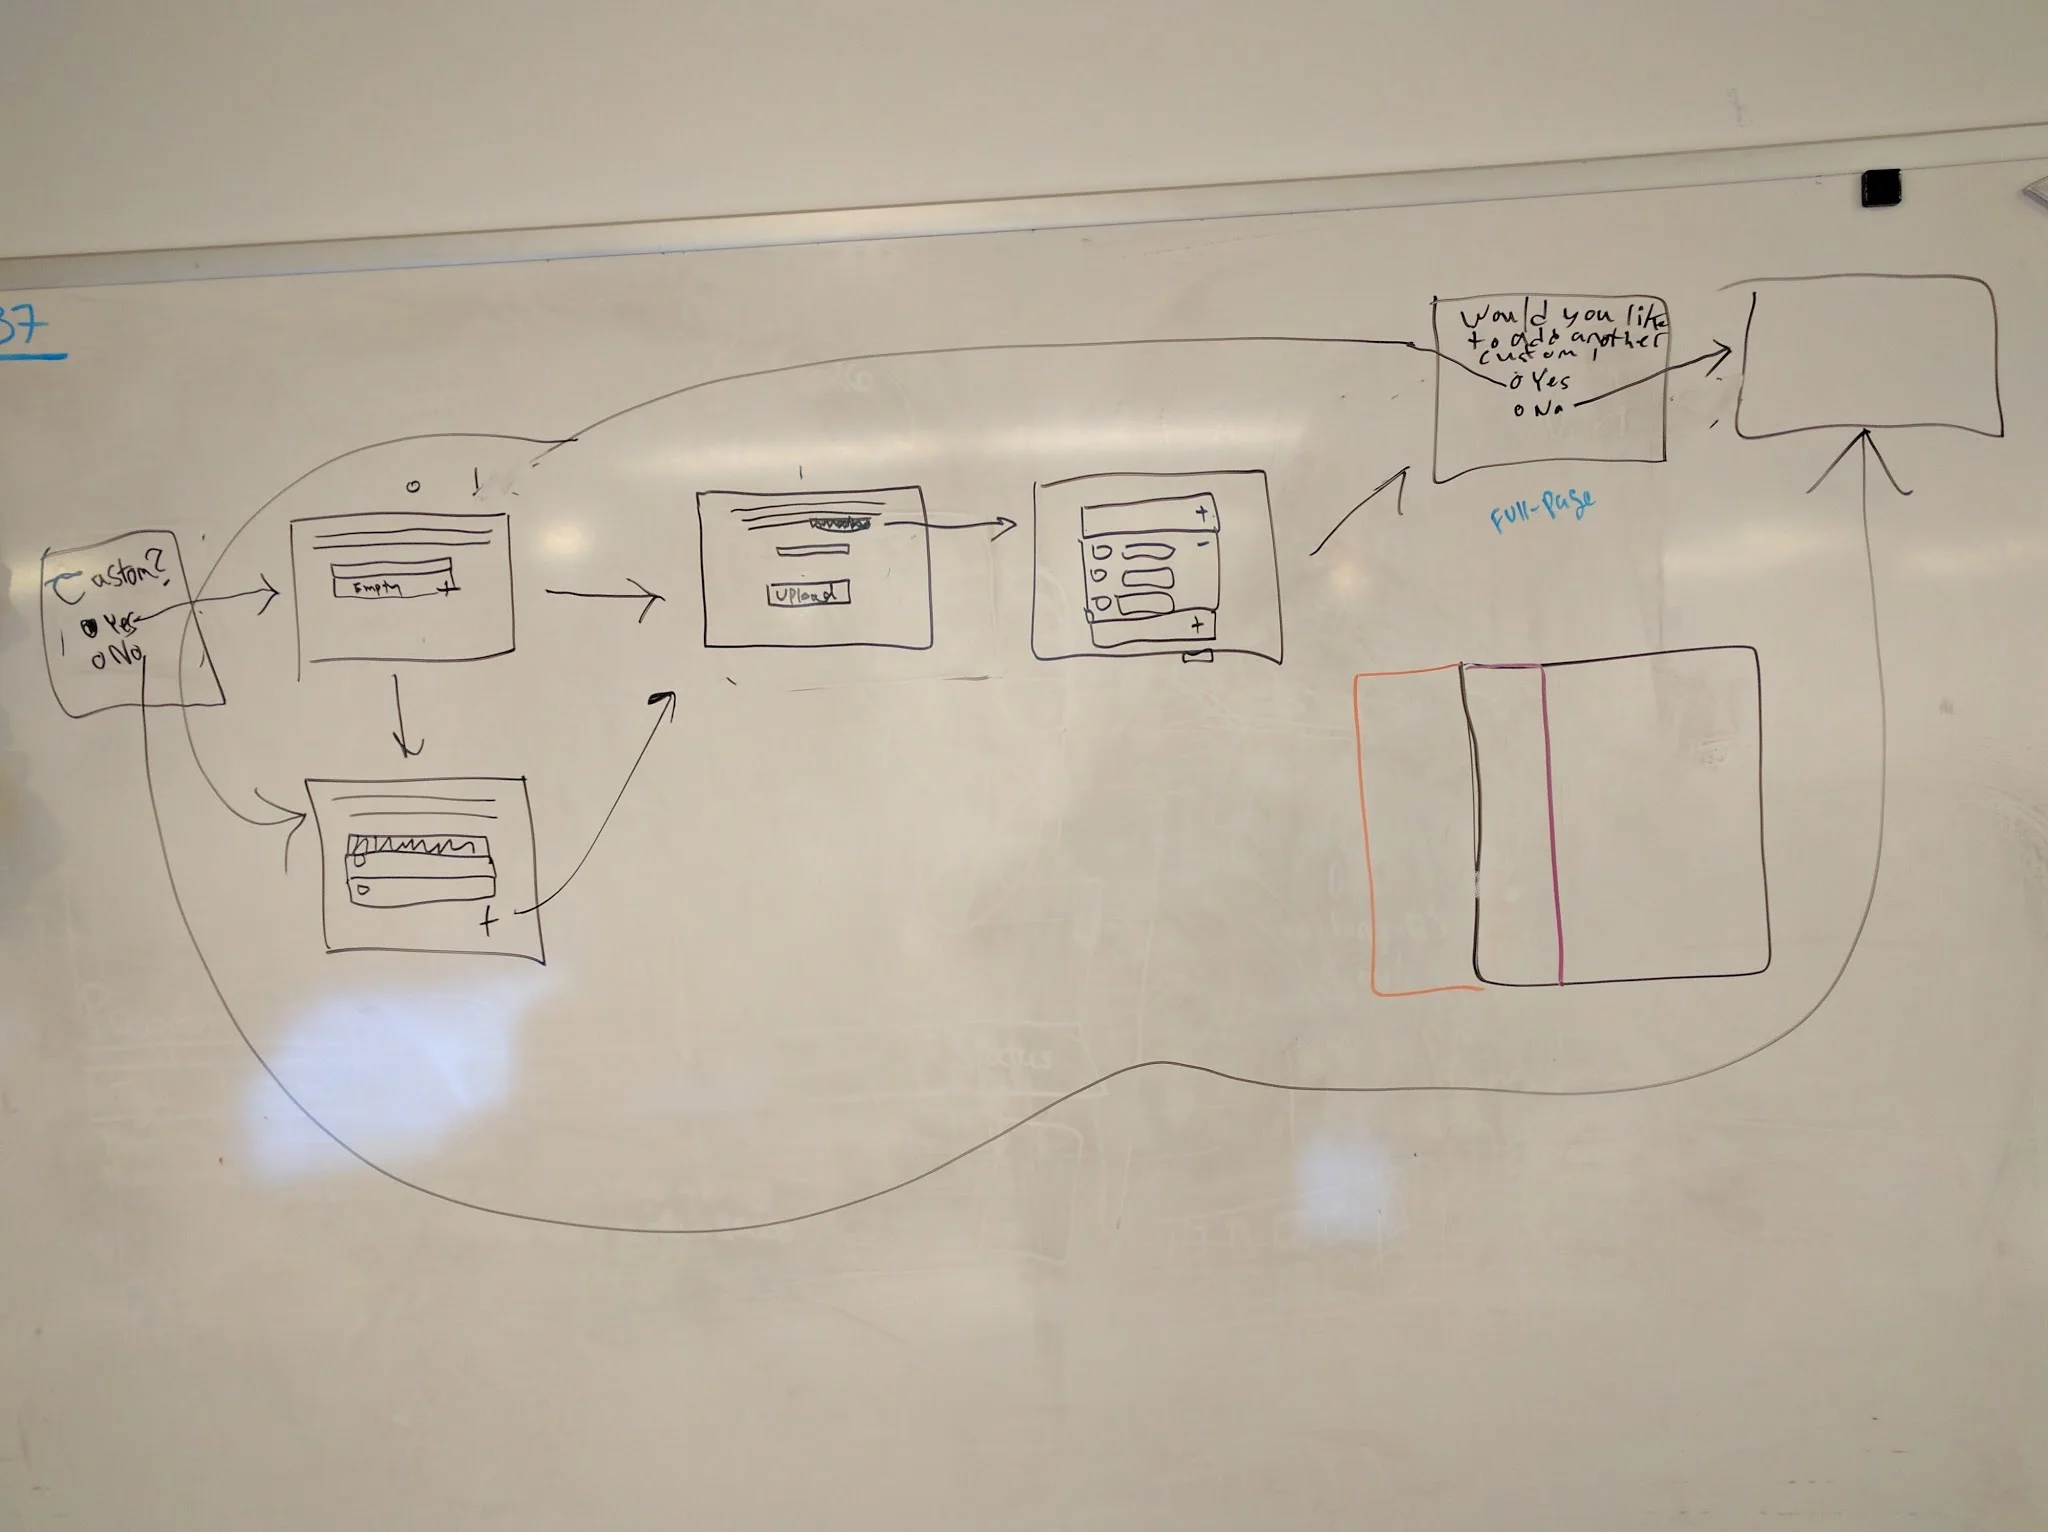
Once you have your product goals and your user goals and behaviors, it's time to figure out how a user will actually use the product. The best way to do this is to map out a flow. Put your user shoes on and figure out each step the user will take to accomplish their goals.
Research was about finding out the why, this is the what, the next step is the how.
Step 5: Information Architecture and Navigation
Now that you know the points the user needs to get to, it's time to figure out how we can make sure they know how to get to those points.
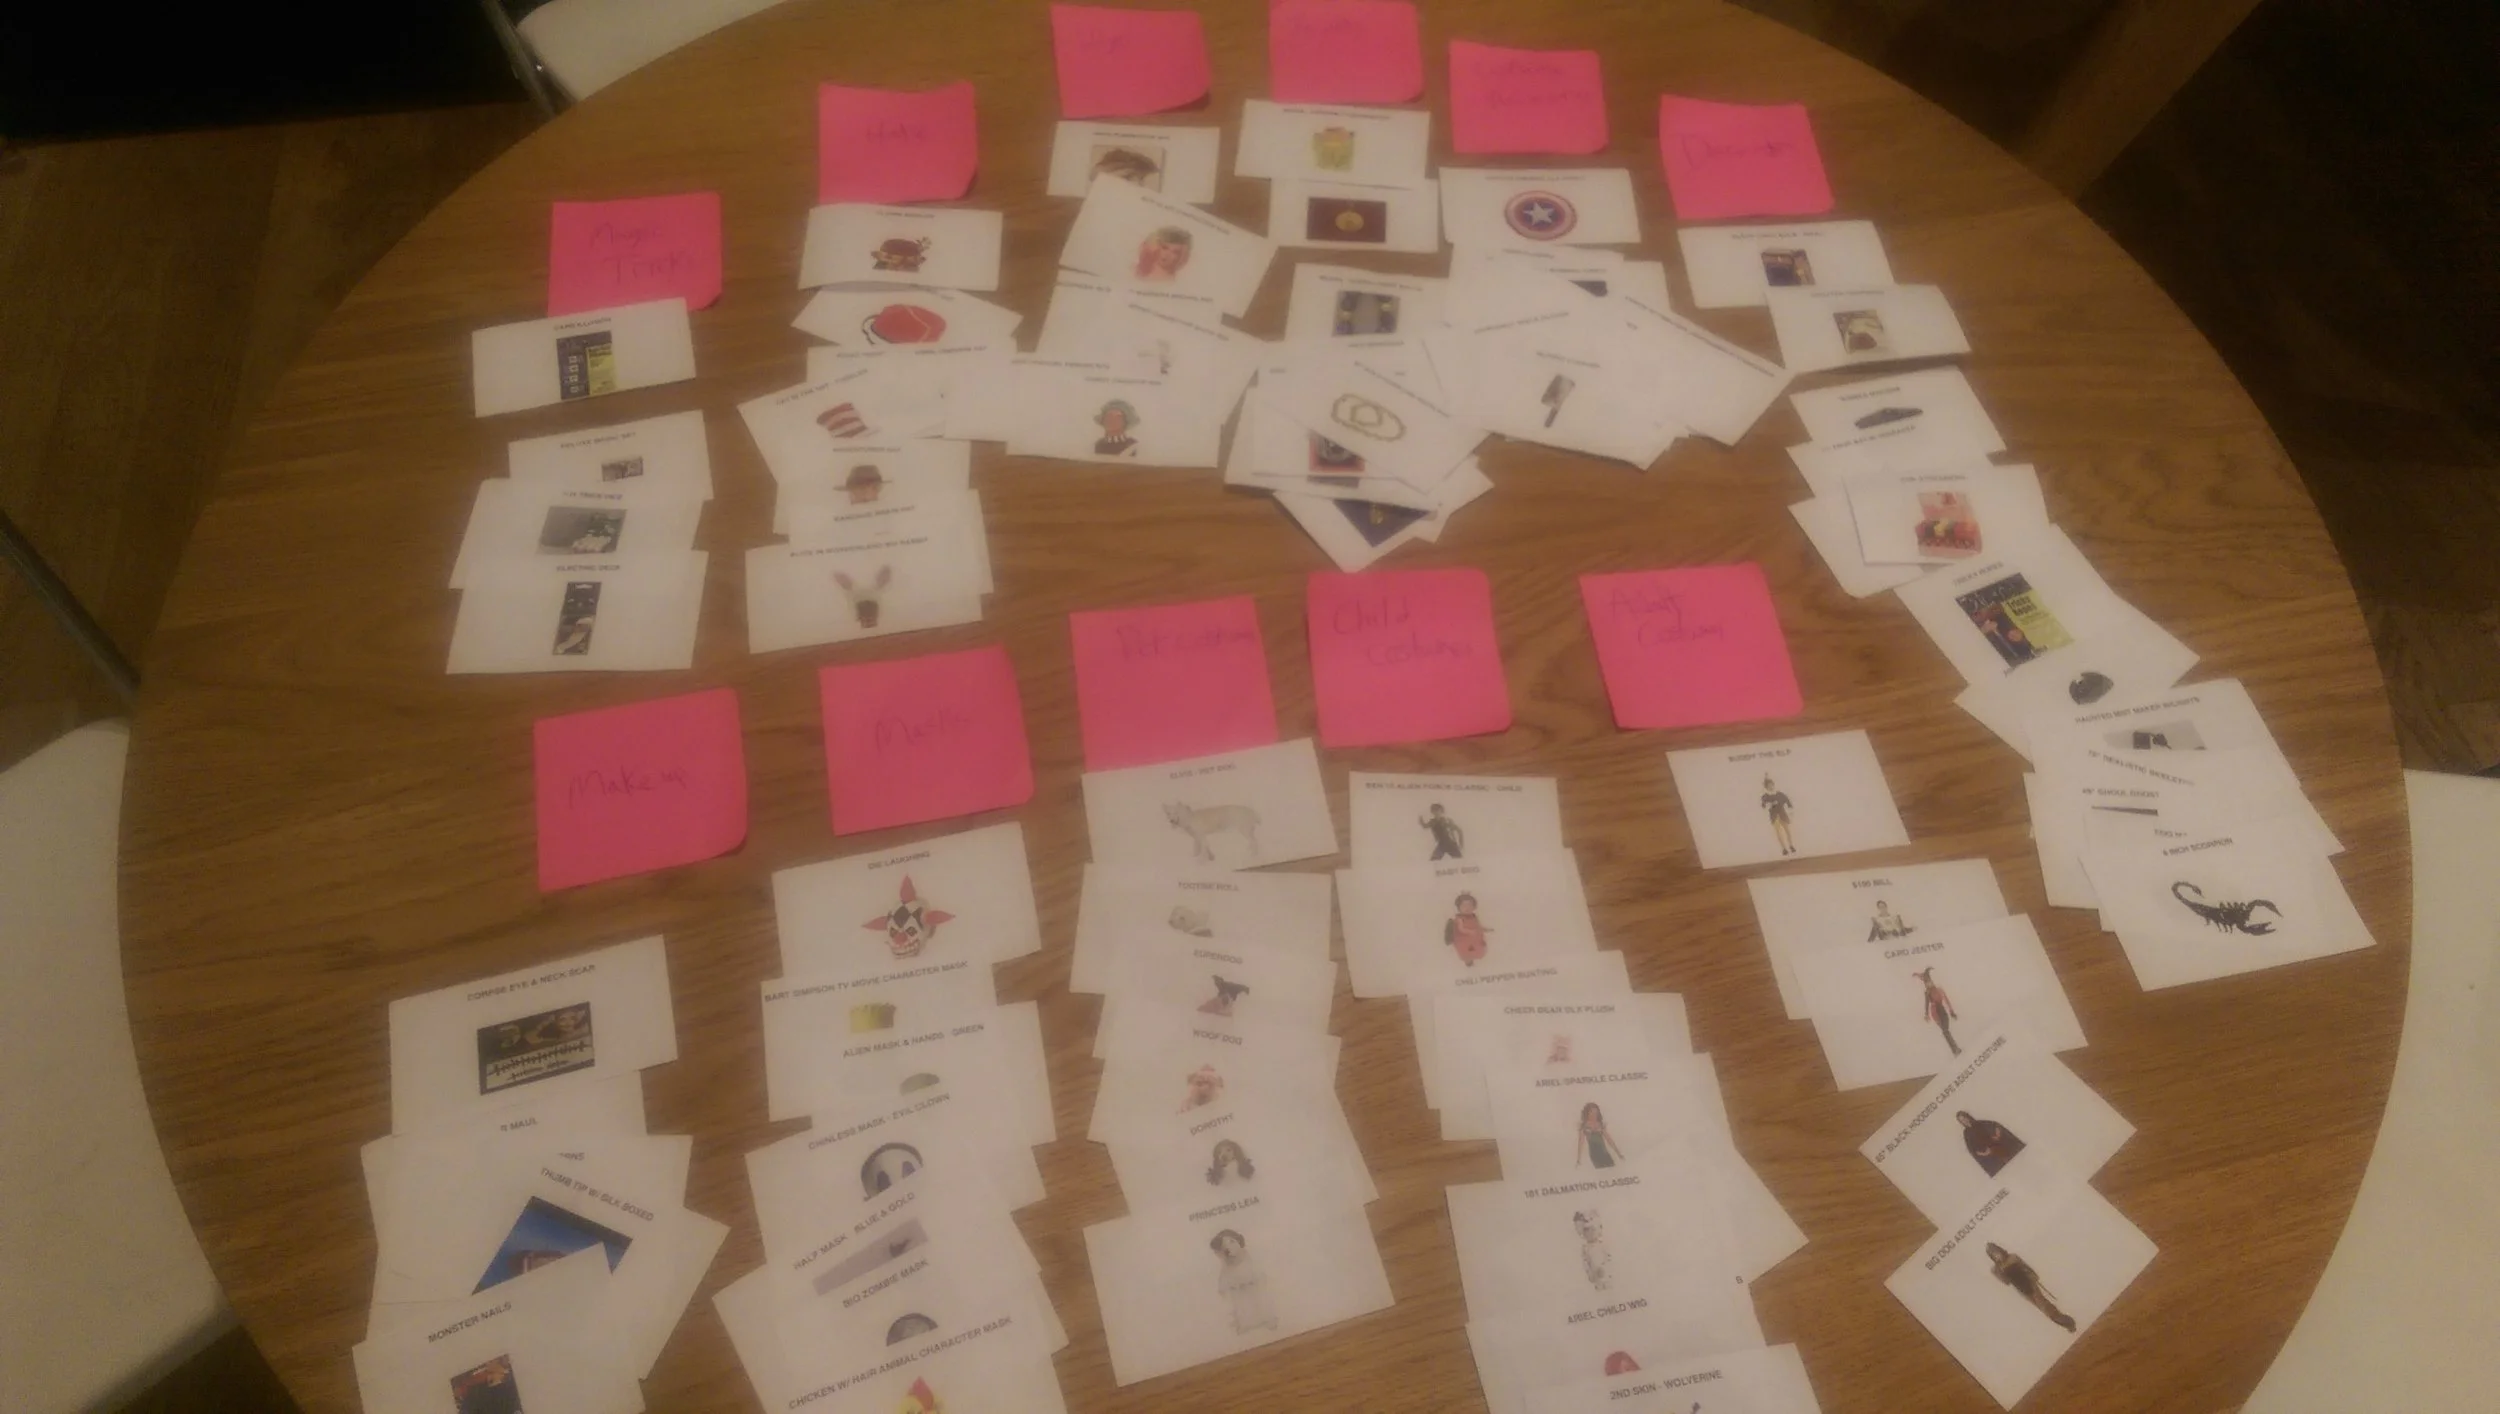
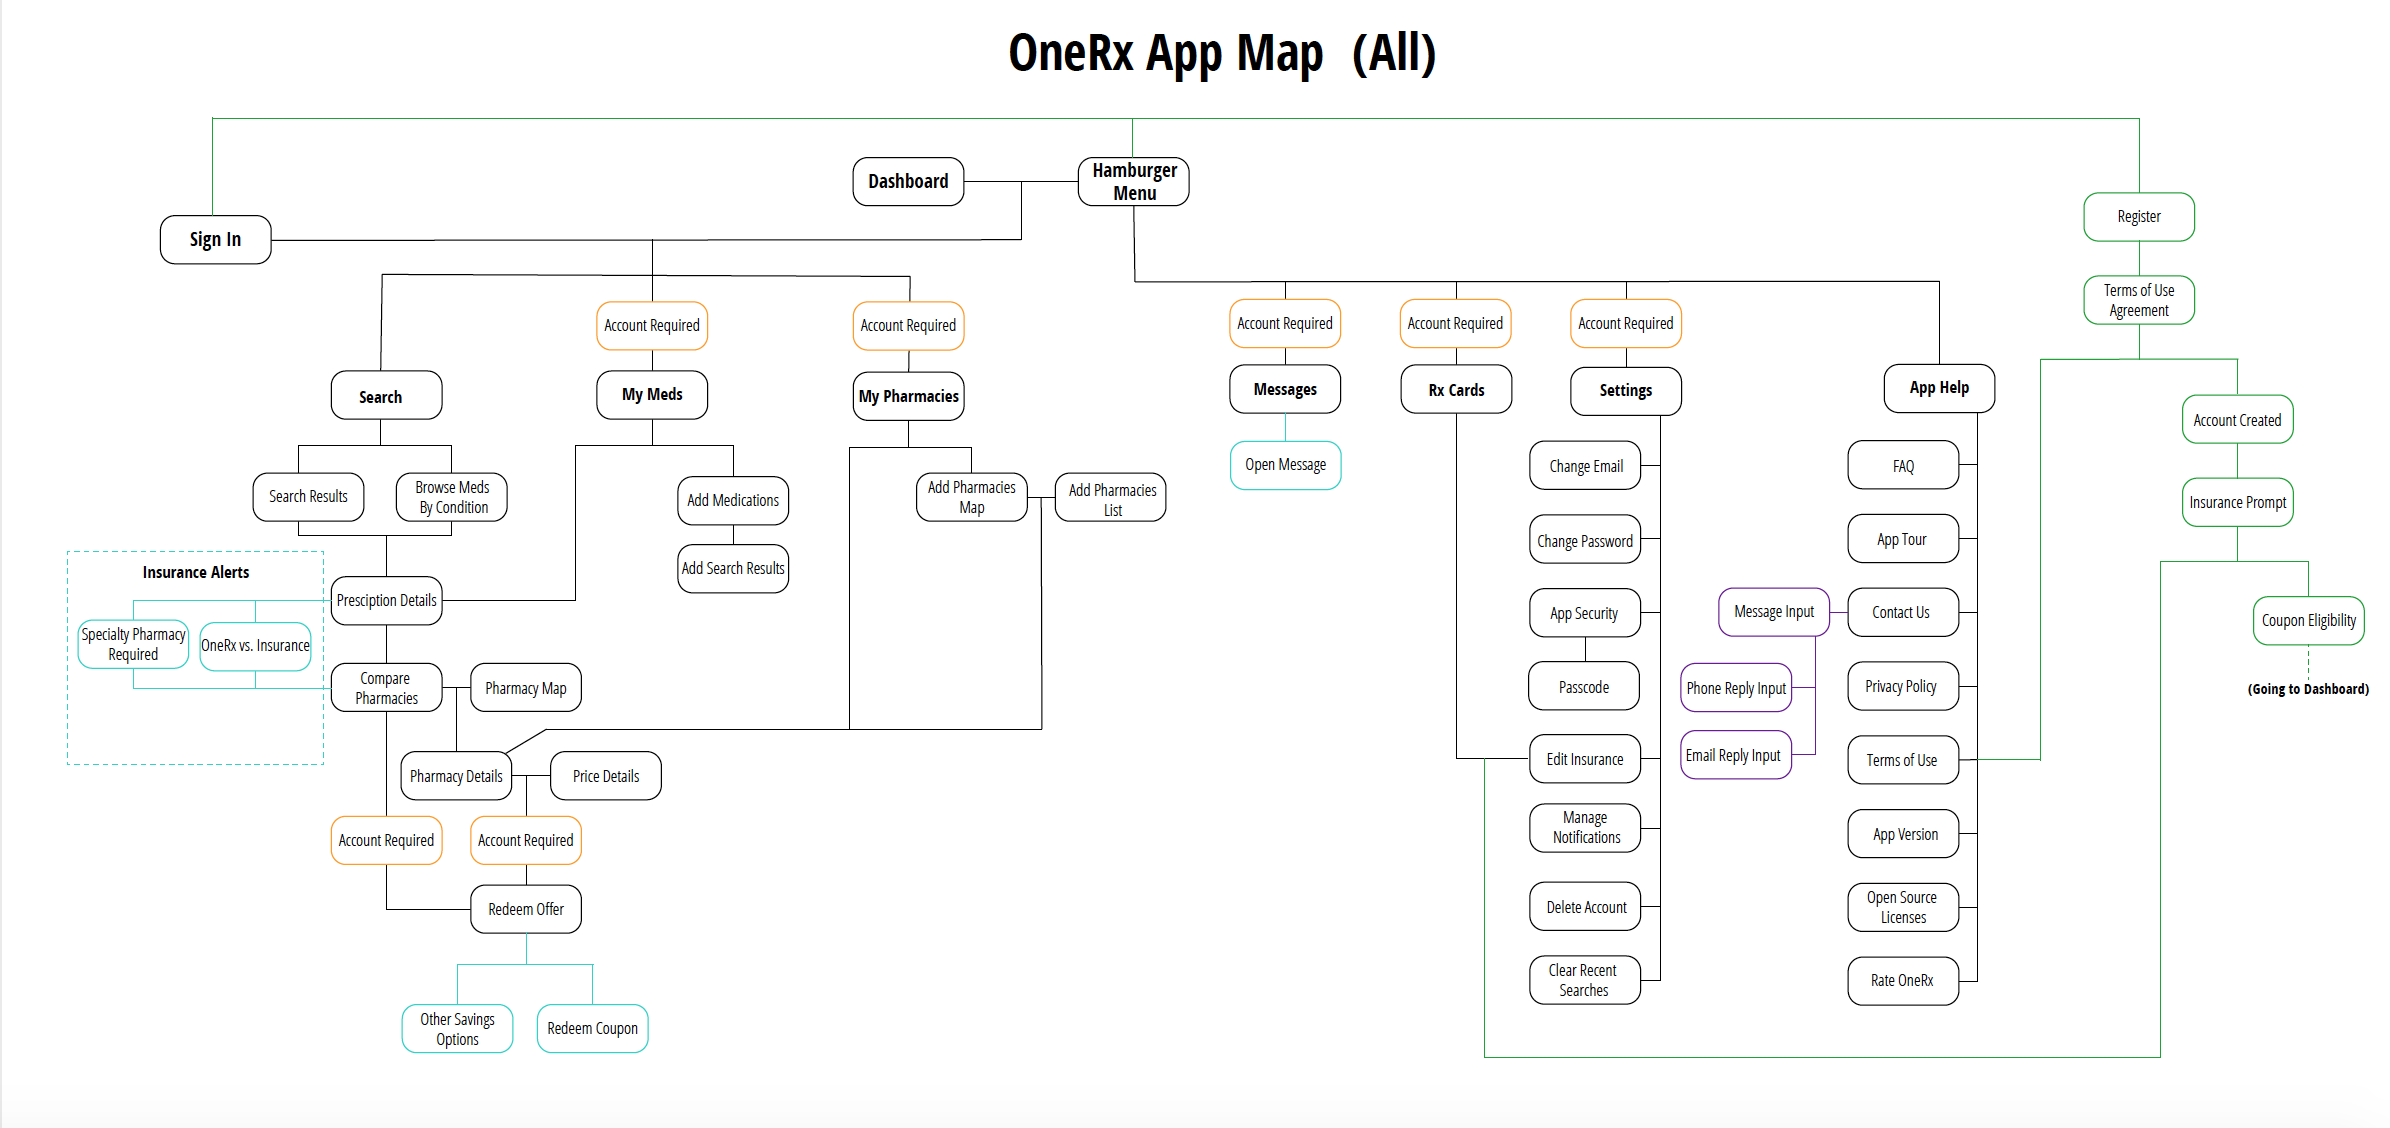
Card sorting, site maps, app maps ... knowing what you do about the user, it is time to figure out their approach to your product and how you can organize your product to help them accomplish their goal.
Step 6: Feature Prioritization
With your persona, user flow, and product structure in place, you can use all that information to start listing potential features for the product.
The problem here is that our eyes are always bigger than our stomachs. There's no way to include every feature you want to. And even if you could you risk overloading the user. You need to figure out which features are most important. In the pictures we're mapping our feature ideas on a chart based on ease to accomplish and necessity of the feature.
I tend to prefer the Moscow method, where you list features by Must Have, Should Have, Could Have, and Won't Have (MSCW).
Step 7: Meet with Stakeholders
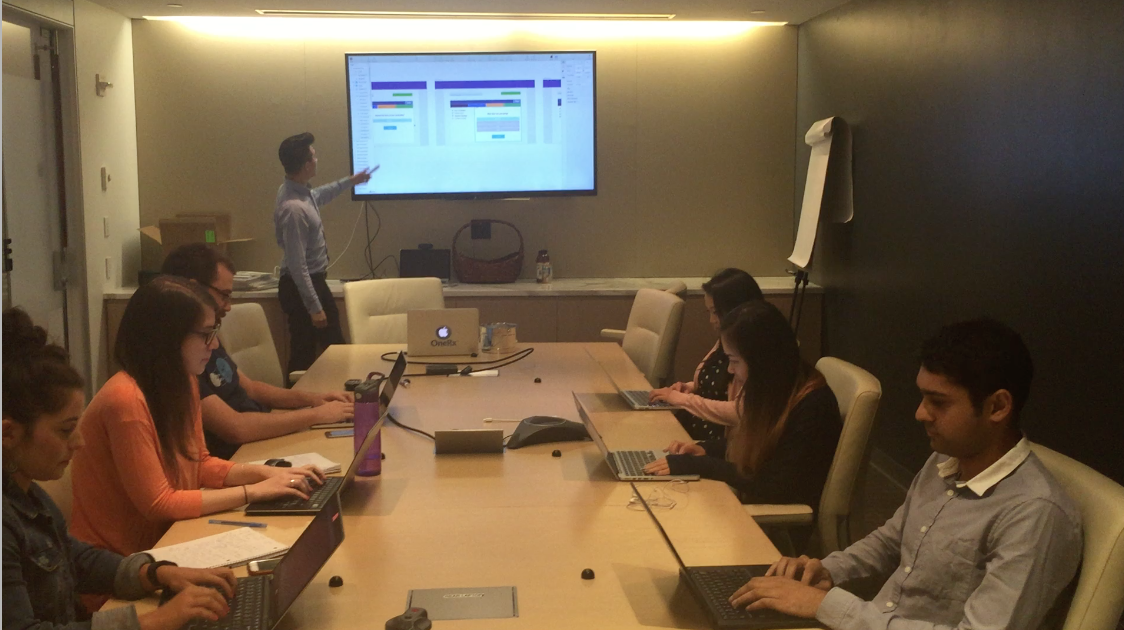
This can be the most frustrating step. It can also be the most important. Once you have the structure of the flow, the organization of the product, and the features you want to include, it's time to call a meeting.
Ideally you'll have representatives from every department the product touches. Especially engineering and product, but client (customer) services and account managers are helpful too.
You need to get everyone's input now on where the project is, where it's headed, if what you want to do is possible, if it fits with the business goals and roadmap, etc. This is going to require some arguing, but it's better to hash things out now than later.
Step 8: Wireframes
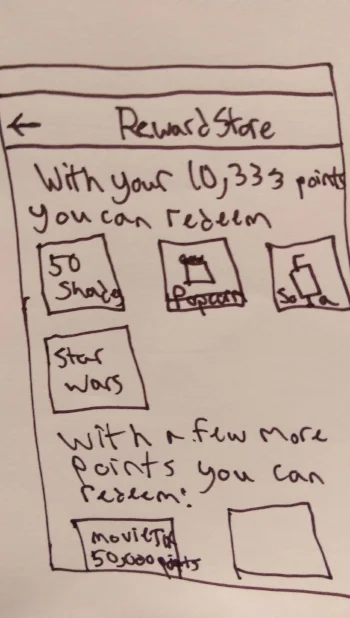
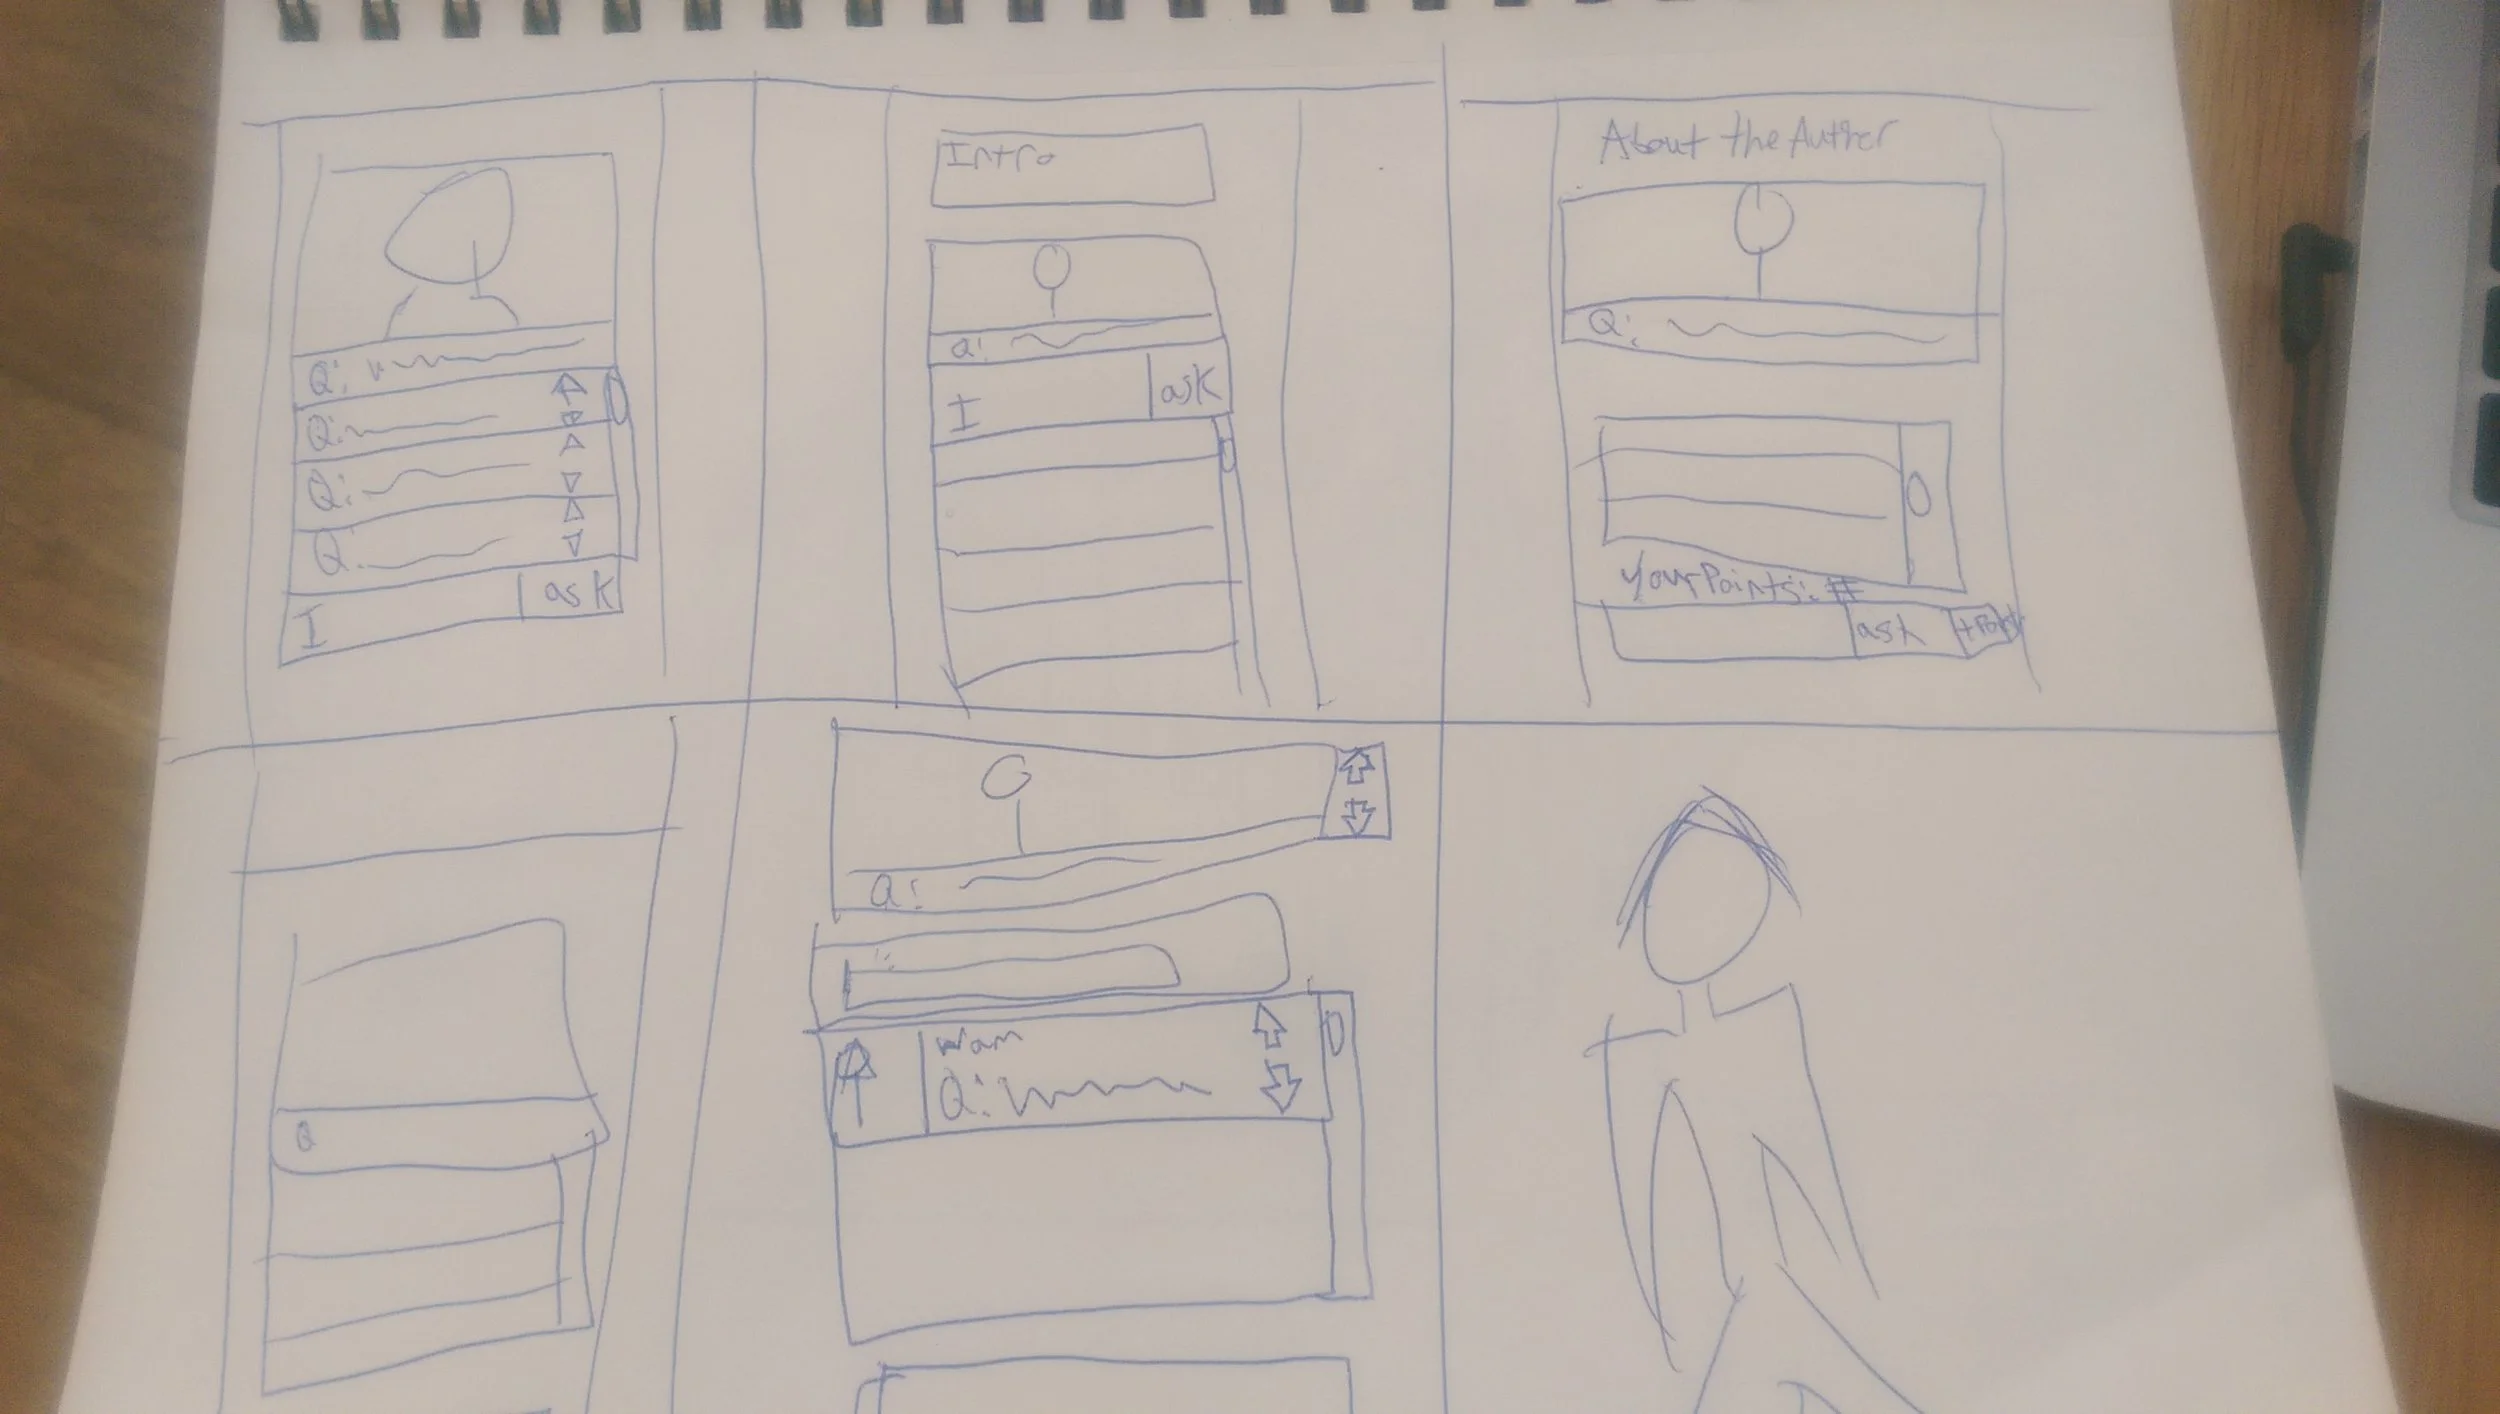
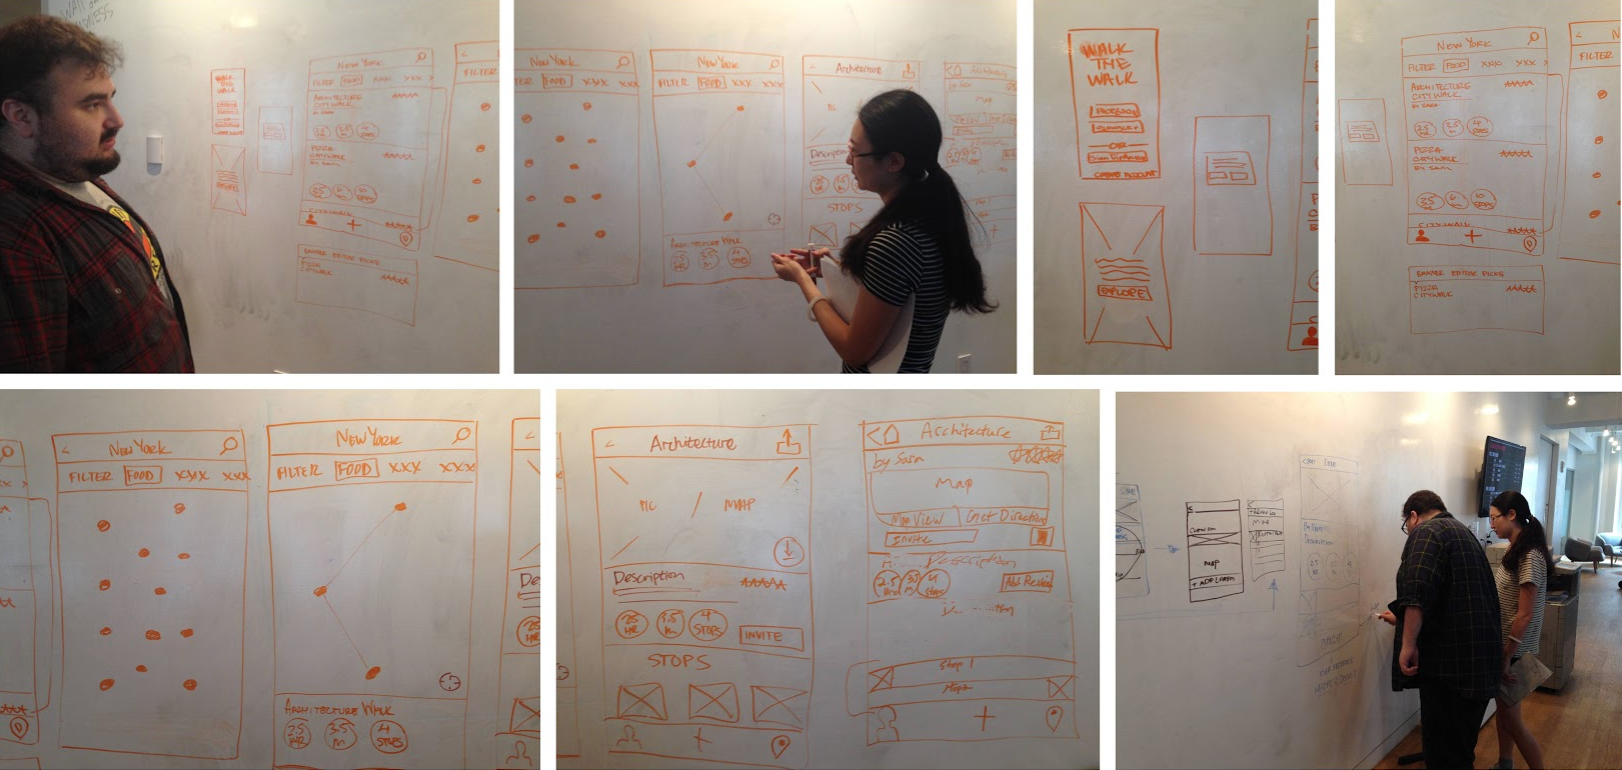
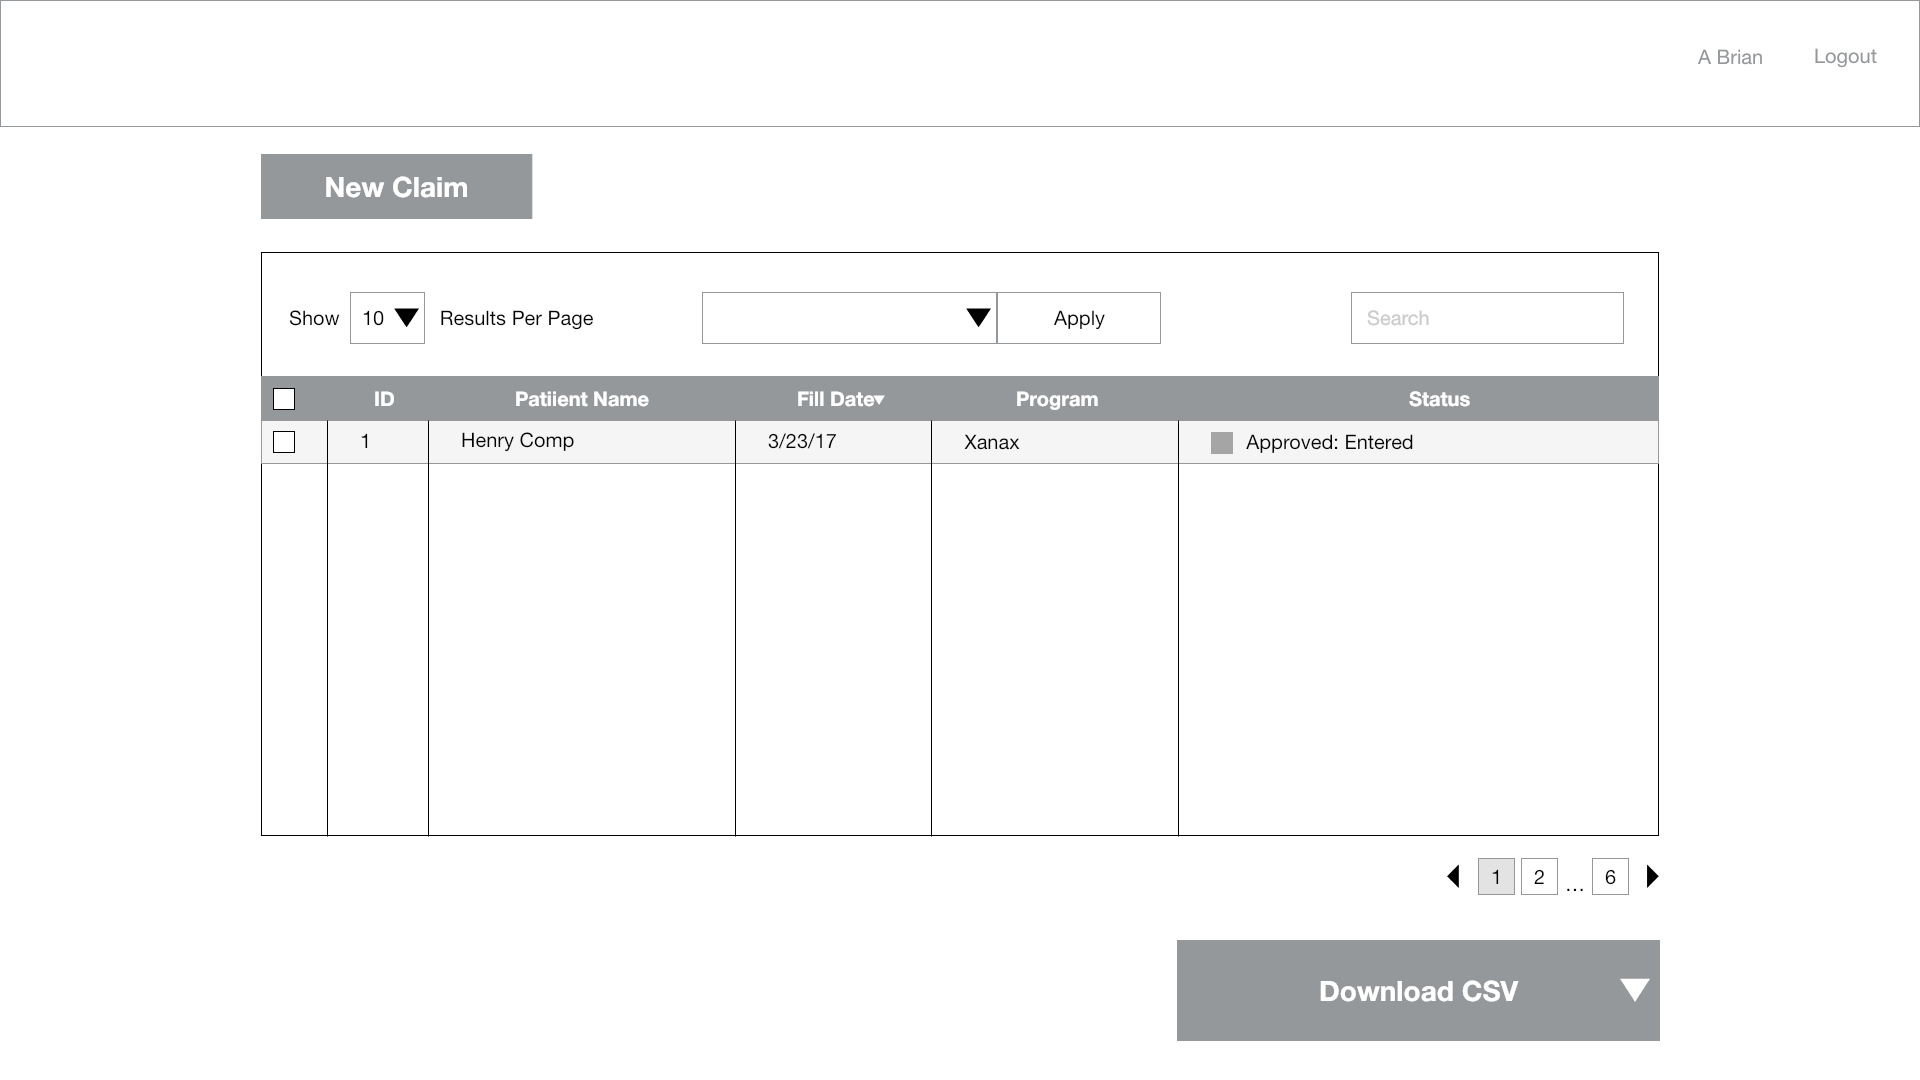
Now things get fun again. It's time to start sketching. It's important to start out at a low fidelity. It's a way of jotting down ideas and comparing them with your team. A design studio or round of crazy 8s is a great way to explore a lot of different options and ways of thinking about how things should work from a high level.
Then you slowly start upping the fidelity each step of the way. And with each new fidelity you can get more granular with your wires and interaction design/UI design. You go from basic outlines to actual interaction and flow. To firming up those interactions with explicit features and placement. And finally visual design decisions.
Step 9: Prototyping and Testing
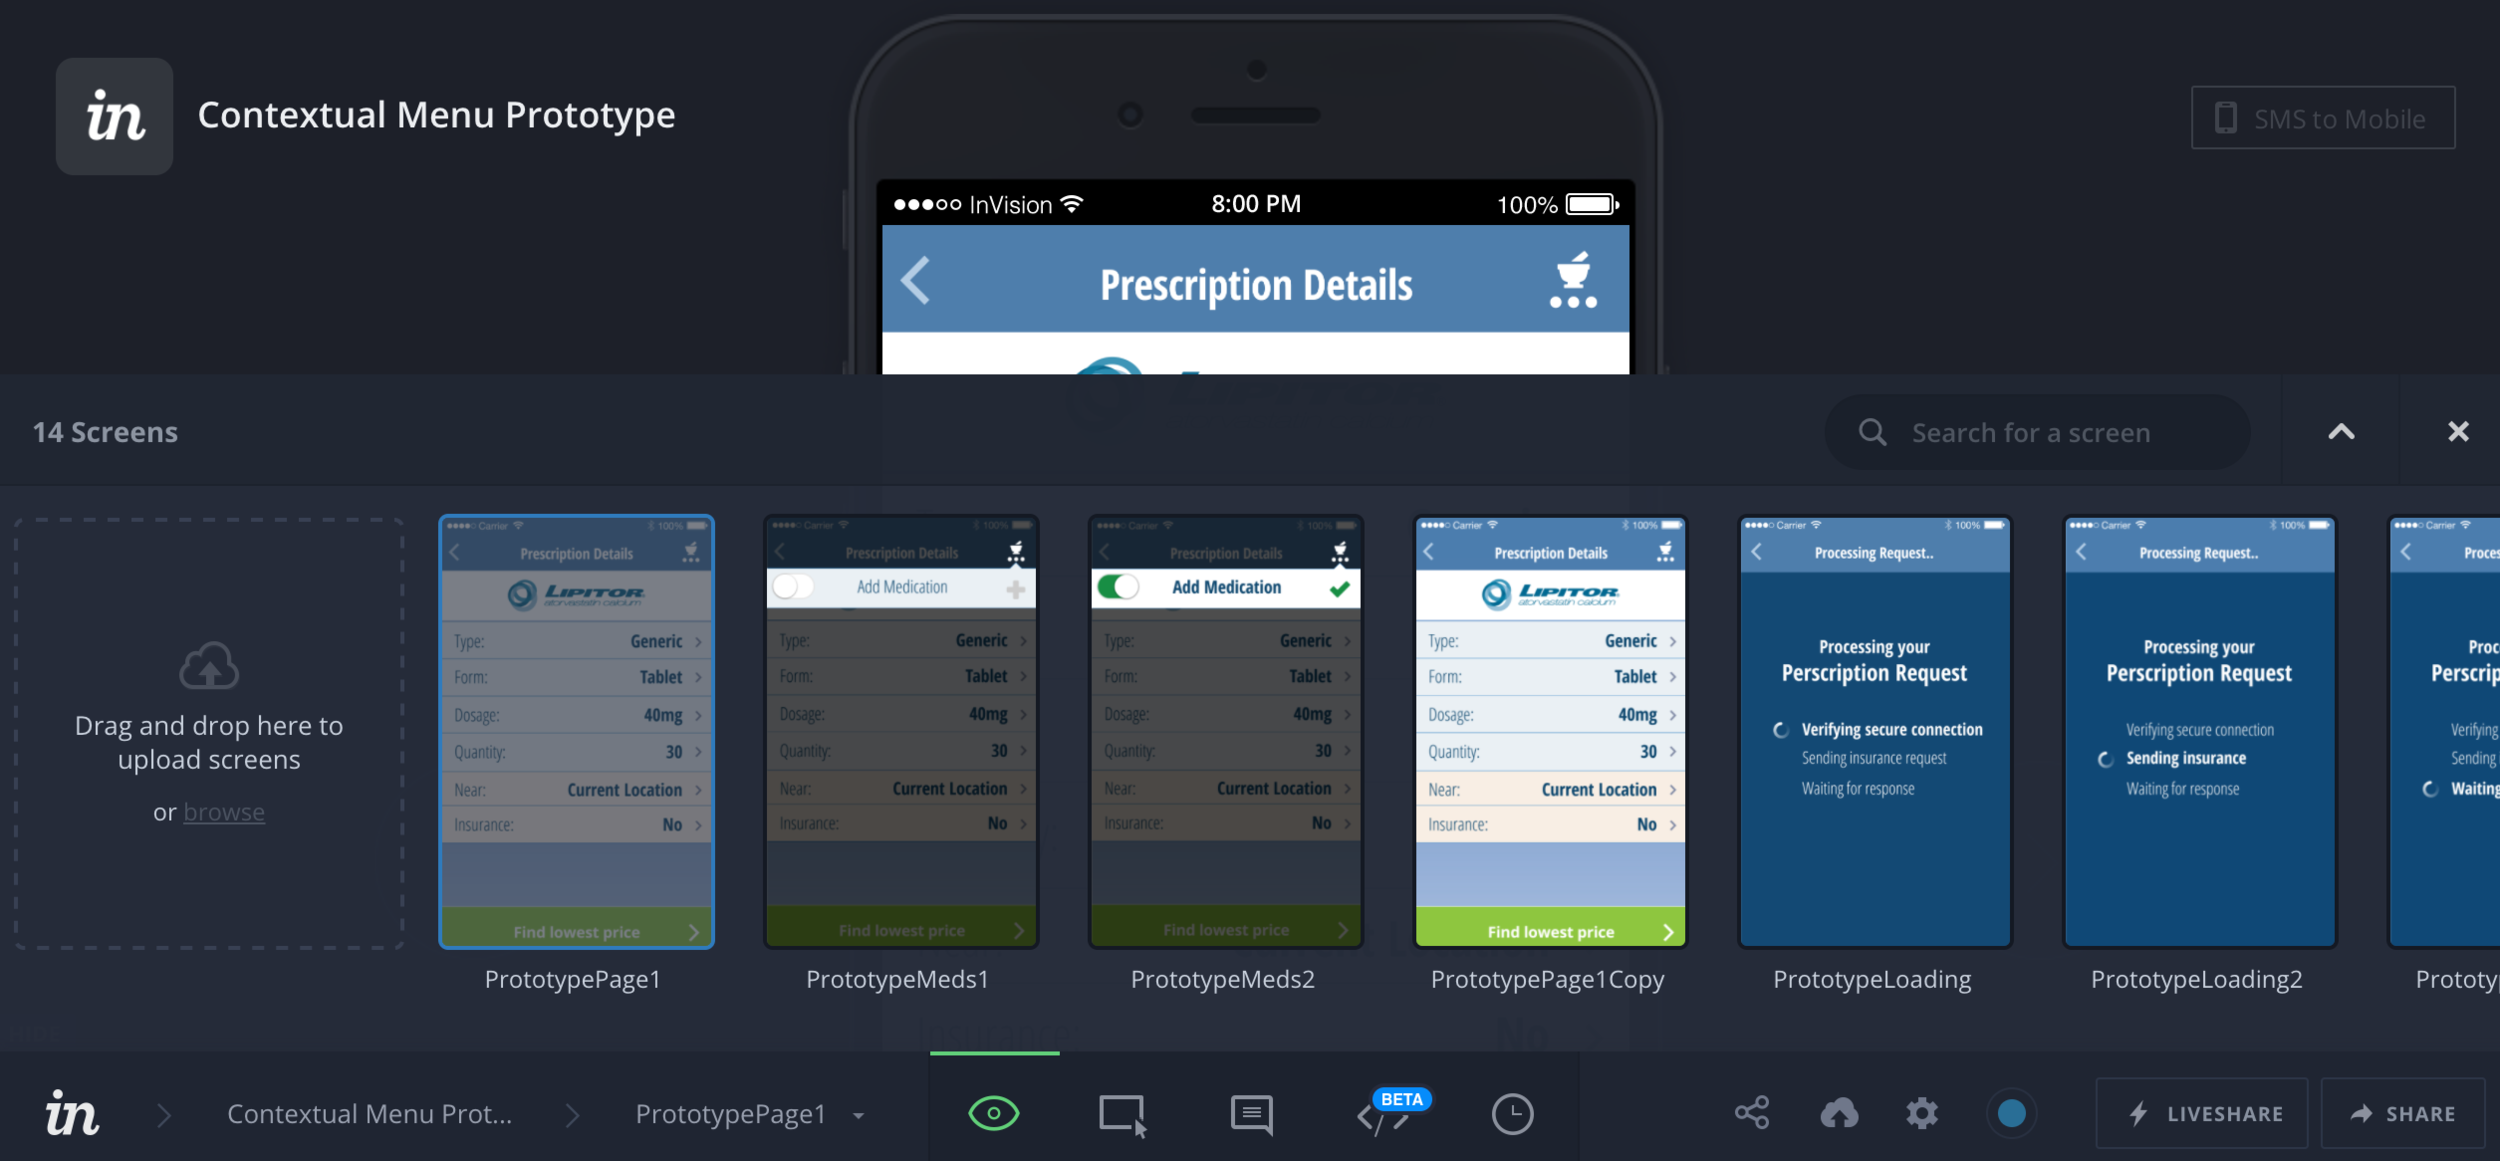
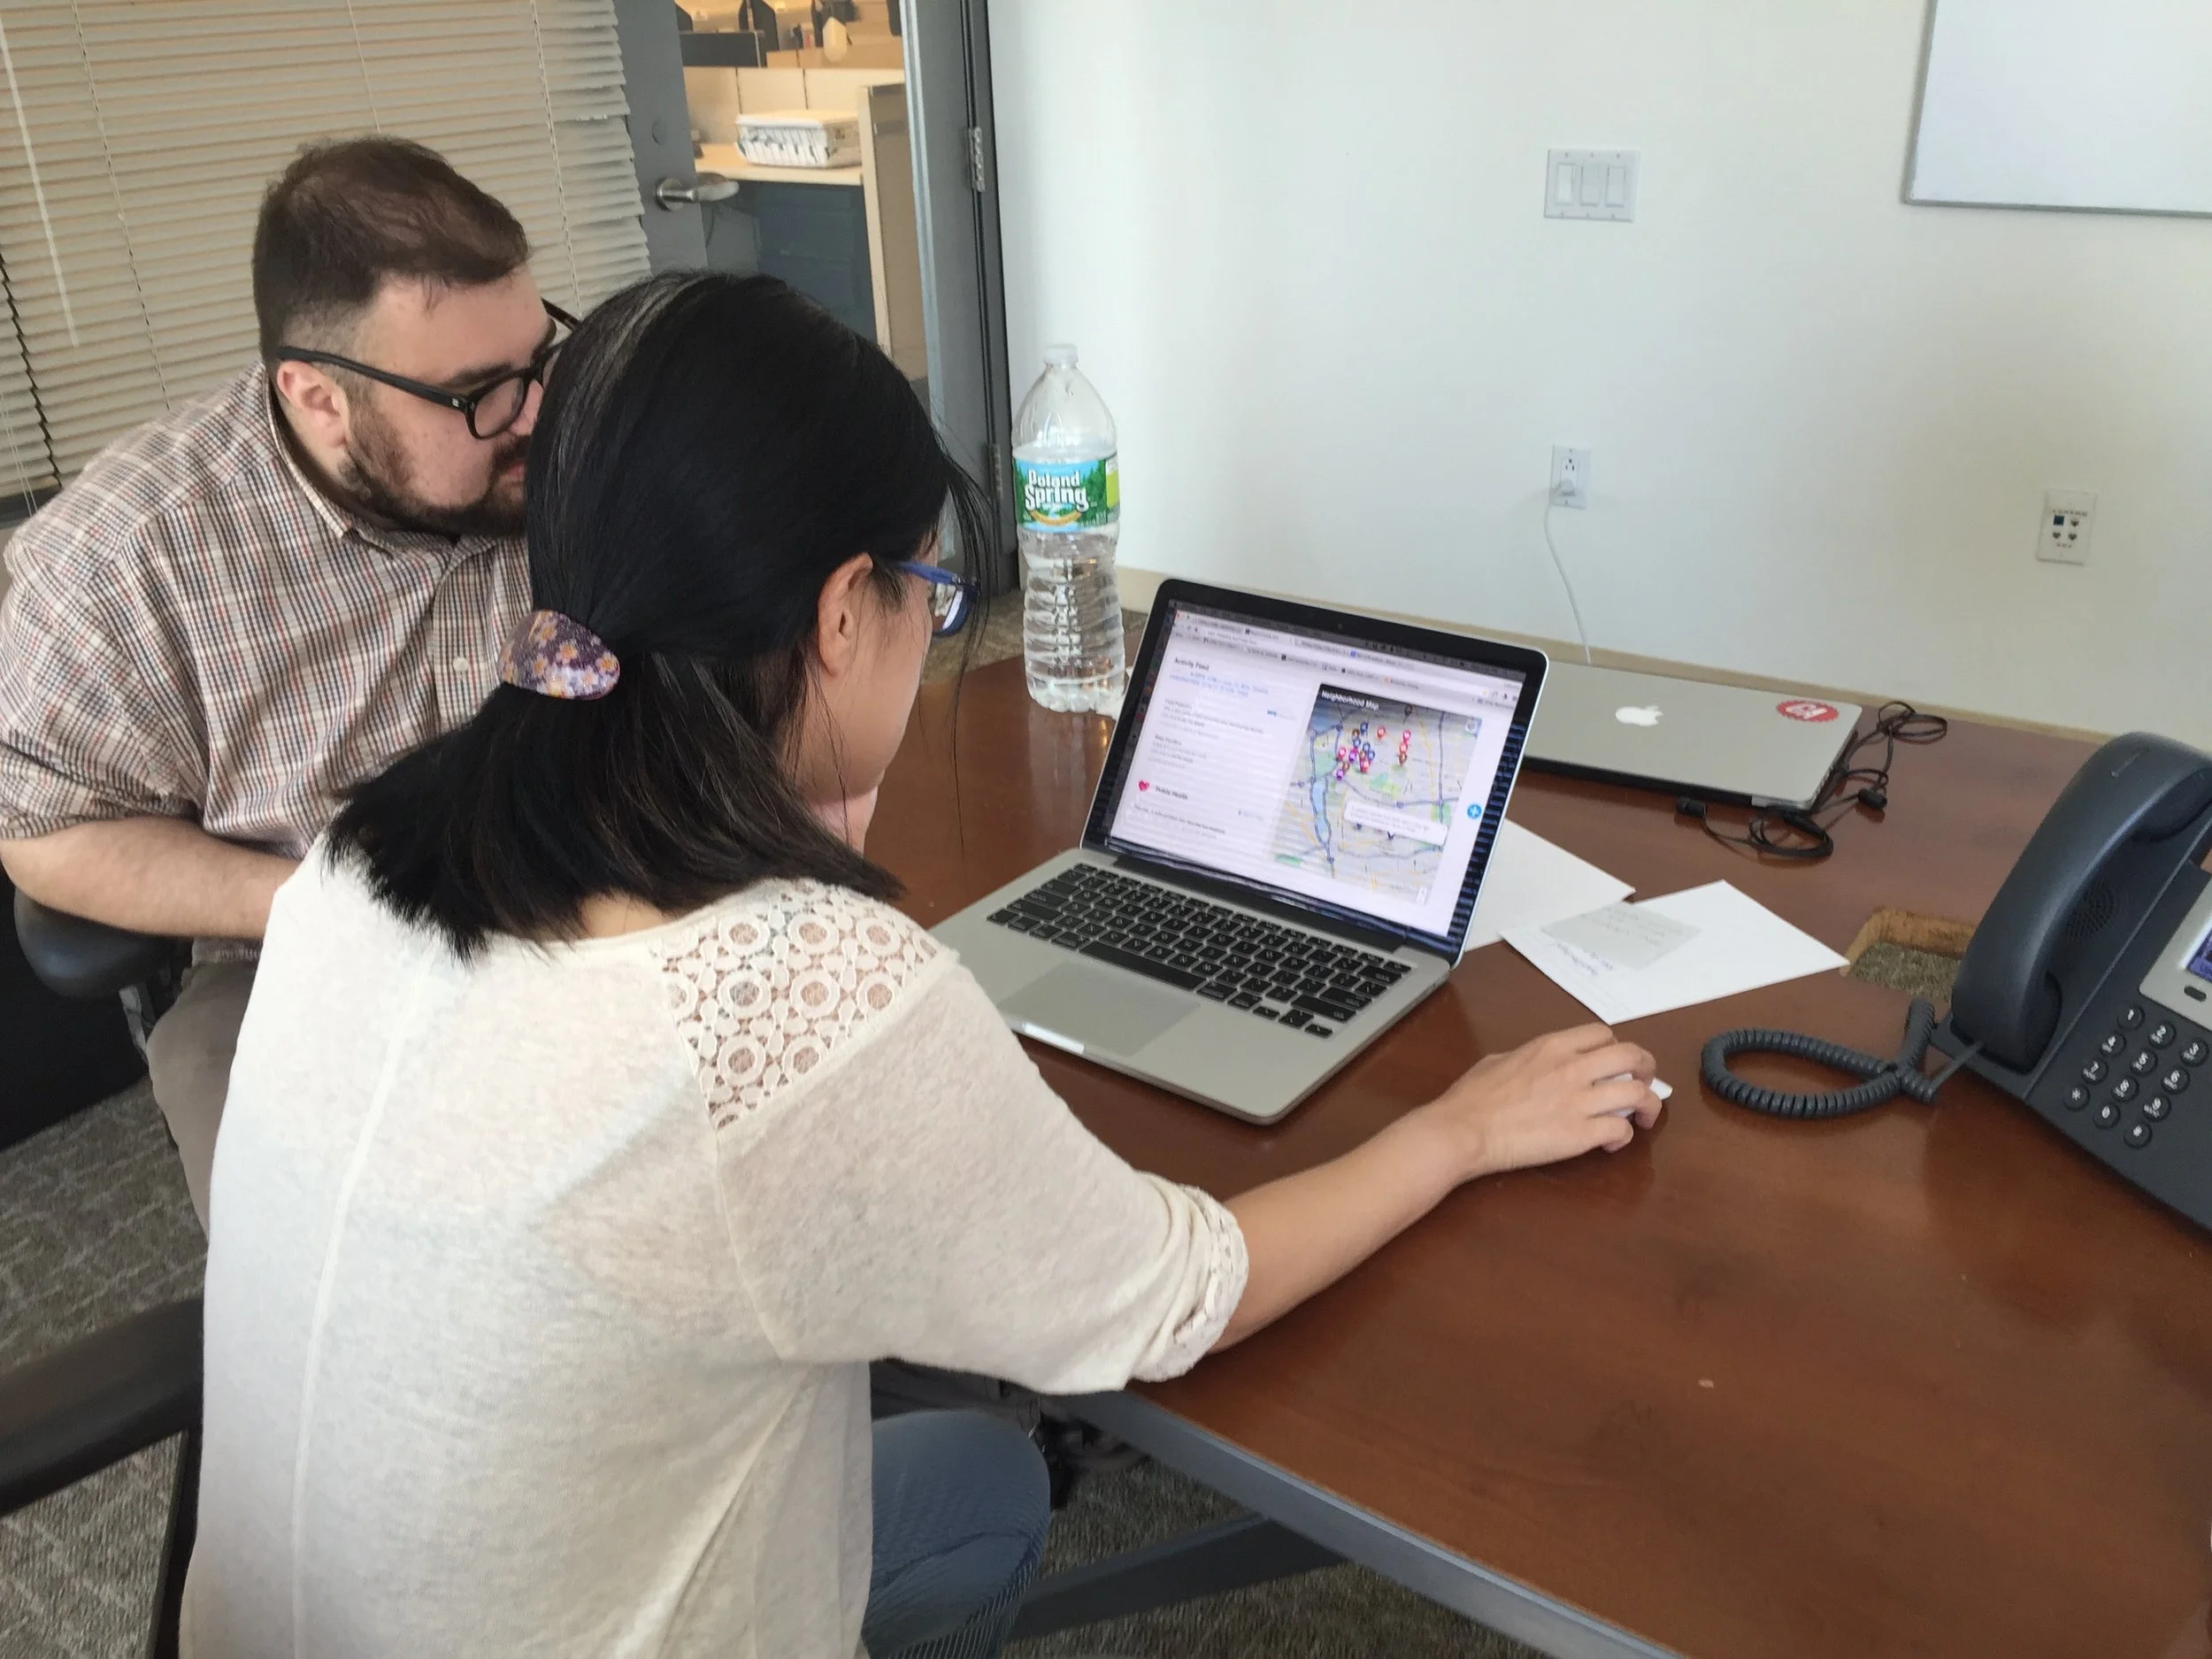
As soon as you can you should slap together a prototype and start testing! Testing early and often is not only the best way to find out how users will actually respond to your designs, it also saves you a lot of headaches by finding problems and errors early in the process.
Testing is one of, if not the, my favorite parts of the process! It is thrilling and heart breaking and informative in all the right ways.
I love finding out all the ways I was wrong because now that I know the problem, I can find the solution.
Step 10: Iteration
Based on the results of the testing, changes need to be made.
Now that you know what you got wrong you can start to fix it. You can redesign it, you have the technology, you can make it better than before!
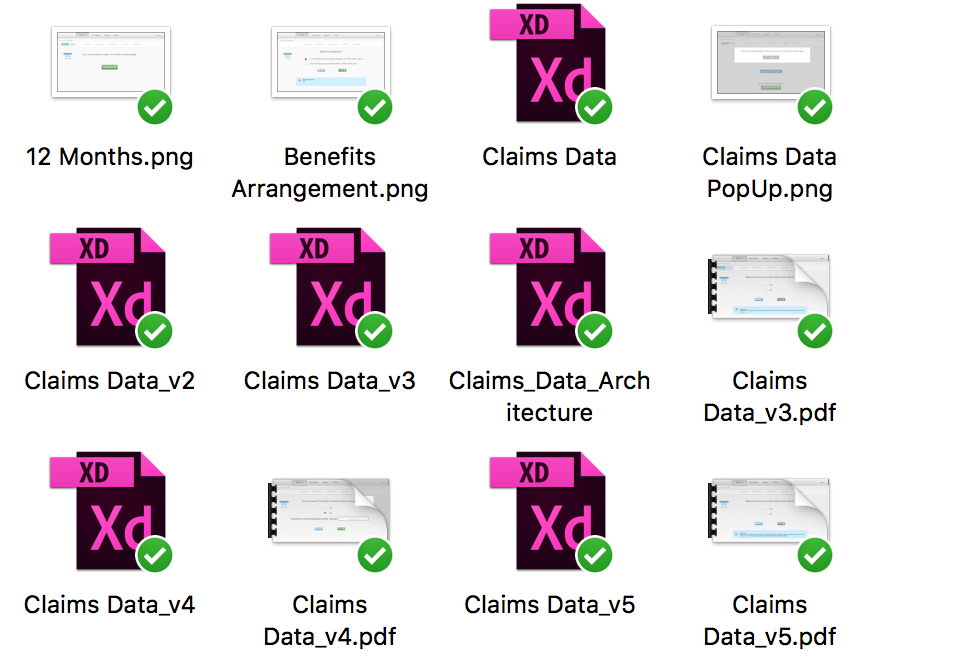
Note the 5 different versions of one part of a flow. And this wasn't even the end of the iterations because of the next step.
Step 11: More Testing and Iterating Until Launch (and after)
THE DESIGN IS NEVER DONE! There are always new insights to be gained, tweaks to better connect with your users to be done. Especially, if you're going with a minimum viable product release schedule. Testing and iterating should never stop.
The claims data flow from above has since been iterated at least twice, launched, and iterated again since then with the new design now in the hands of the engineers.

